Network Configuration
The Centro-8M can be connected to the Network via Ethernet or WiFi. To initially configure the network settings, make sure the Centro-8M is connected via Ethernet and then browse to it's IP address or http://centro8m.local. On the Settings menu, click Network.

Wired Ethernet
By default, the Network on a Centro-8M is set to DHCP, but it can also be set to Static. This is recommended when using the CentroControl application.
Static
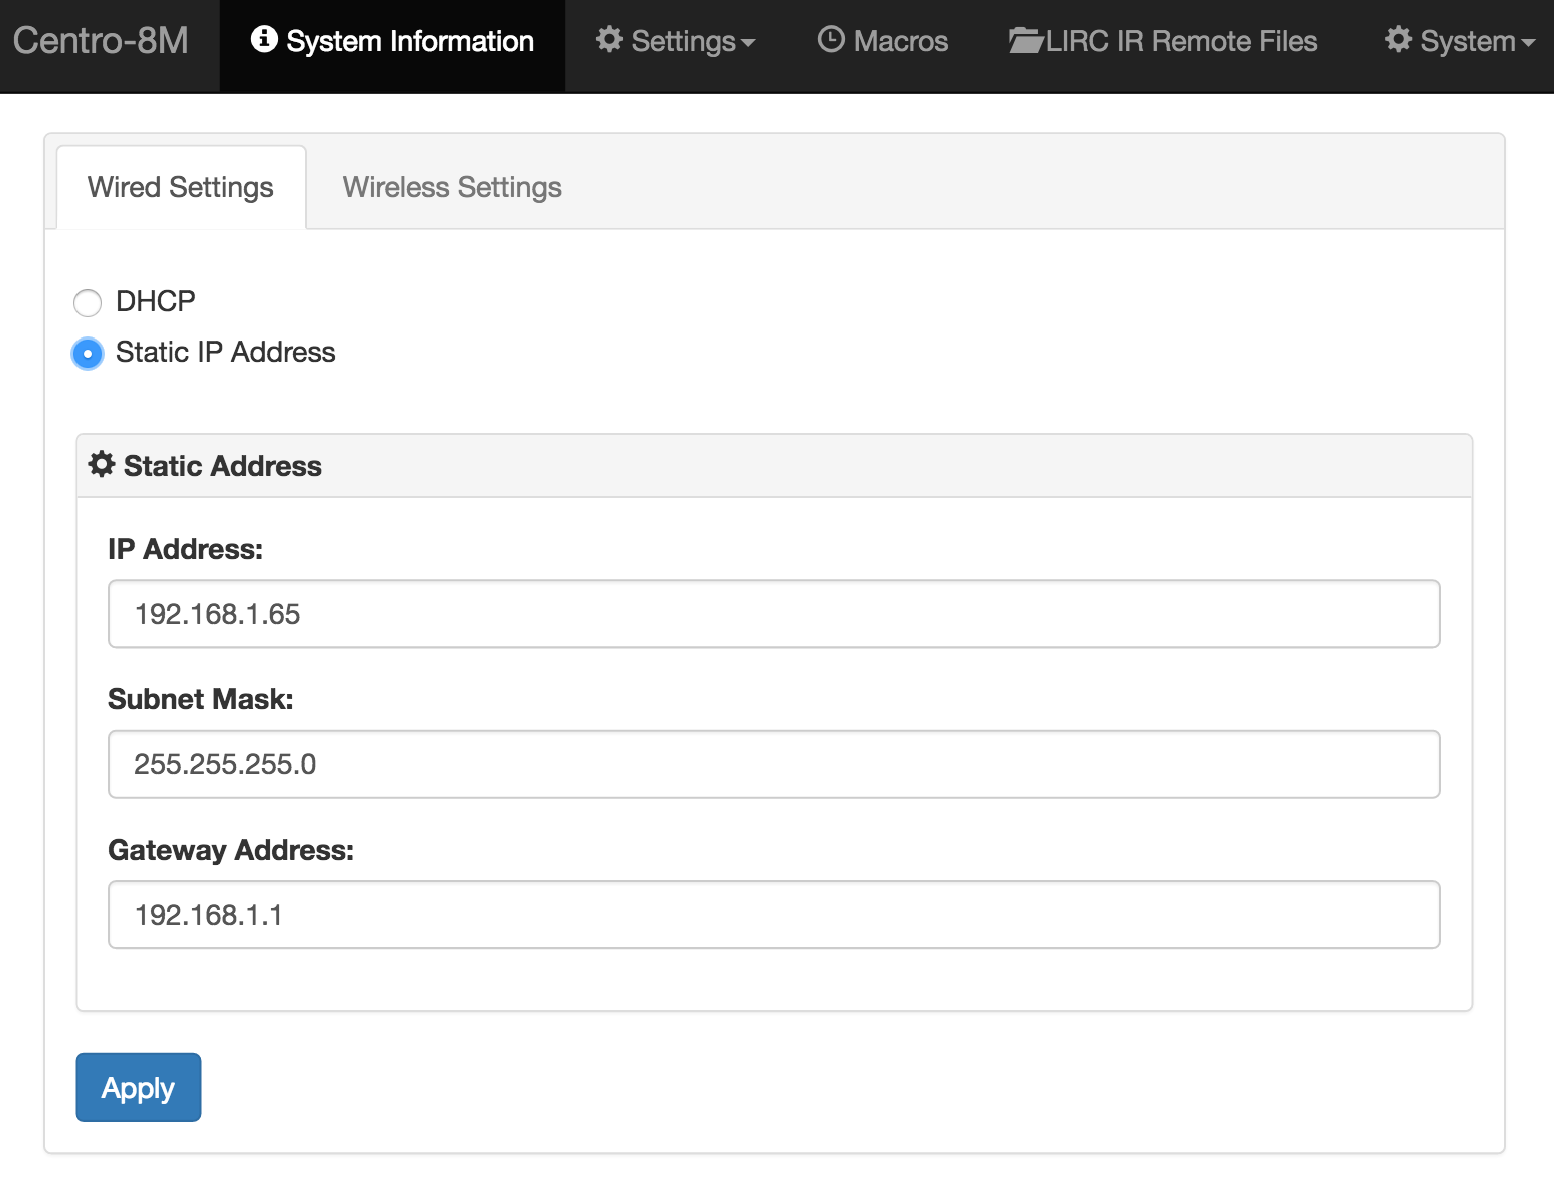
Setting a static IP address is easy. Simply enter an IP Address, Subnet Mask and Gateway Address then click Apply.
Note: Depending on your network you may need to power-cycle the Centro-8M after this step.
DHCP
With DHCP selected, providing there is a DHCP server on the local network it's IP address will be automatically assigned.
Note: DHCP is not the recommended mode of IP assignment when using the Centro Control App.
WiFi
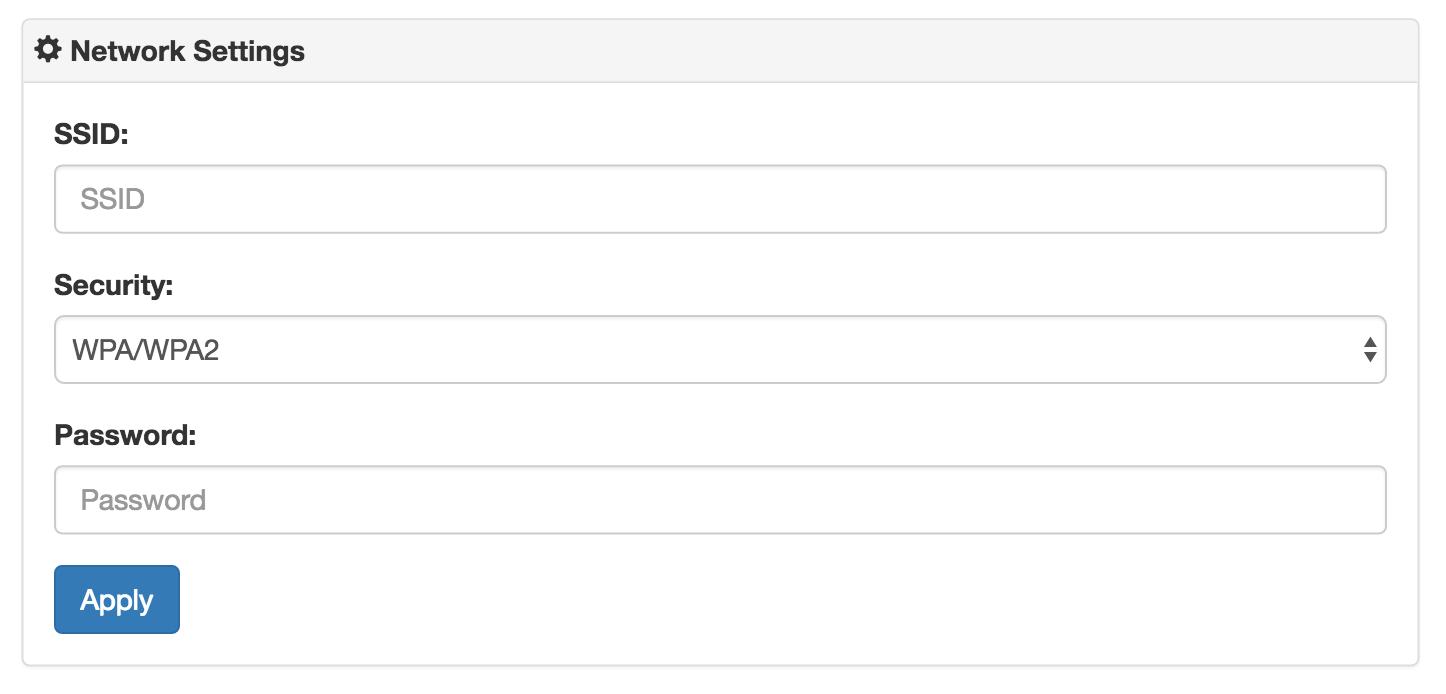
The Centro-8M can also be used on WiFi, to set this up, simply select the Wireless Settings tab from the Network settings page.
Once you've entered the SSID, Security and (if required) Password click Apply, and the WiFi network settings will be saved.
Note: Depending on your network you may need to power-cycle the Centro-8M after this step.